Getting Started with Semeru
Learn how to set up your property, configure room types and rooms, and start accepting reservations with Semeru.
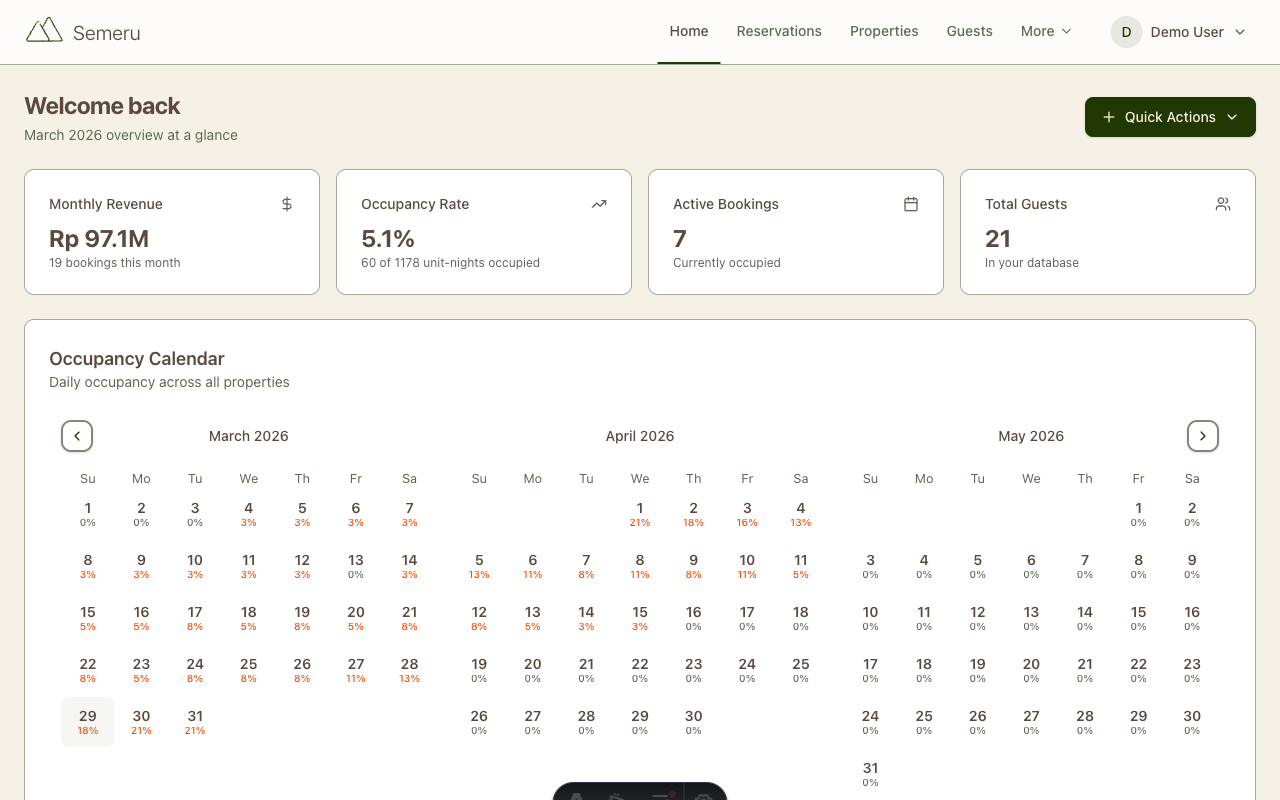
Whether you run a boutique hotel, a guesthouse, or manage multiple villas, Semeru helps you bring everything into one place. This guide walks you through the essential first steps to get your property up and running.
1. Create Your Account
Head over to app.semeru.online and register with your email. Once you verify your email, you’ll land on the dashboard, your central hub for managing everything.
Semeru starts you on a 30-day free trial with full access to all features. No credit card required.
2. Set Up Your First Property
Navigate to Properties from the sidebar and click Add Property.
Fill in the basics:
- Property name: e.g., “Villa Kembang” or “Hotel Melati”
- Address: full street address with city and postal code
- Property type: villa, hotel, guesthouse, or apartment
- Contact details: phone number and email for guest communication
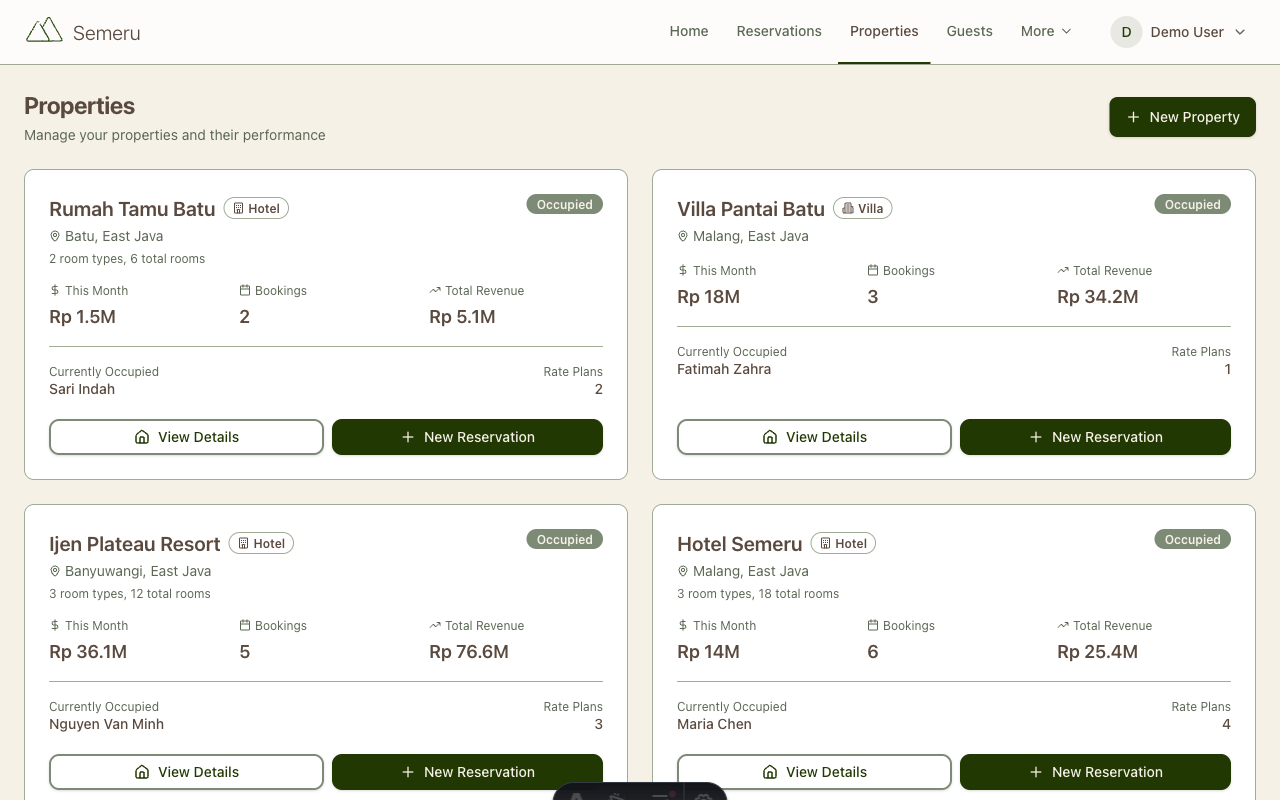
Once saved, your property card appears on the dashboard with a quick overview of occupancy and upcoming check-ins.
3. Add Room Types and Rooms
Inside your property, go to the Room Types tab. Room types let you group similar rooms together, for example “Deluxe Double” or “Standard Twin”.
For each room type, specify:
- Name and description
- Base rate: the default nightly price
- Max occupancy: how many guests the room can hold
- Amenities: Wi-Fi, AC, pool access, etc.
After creating a room type, add individual rooms under it. Each room gets a name or number (e.g., “Room 101”, “Bungalow A”). This is important for assigning guests to specific rooms during reservations.
4. Create Your First Reservation
Go to Reservations and click New Reservation. You’ll need:
- Guest name and contact: you can create a new guest or select an existing one
- Check-in and check-out dates: pick from the calendar
- Room type and room: select the room type, then assign a specific room
- Rate: automatically pulled from the room type’s base rate, or override manually
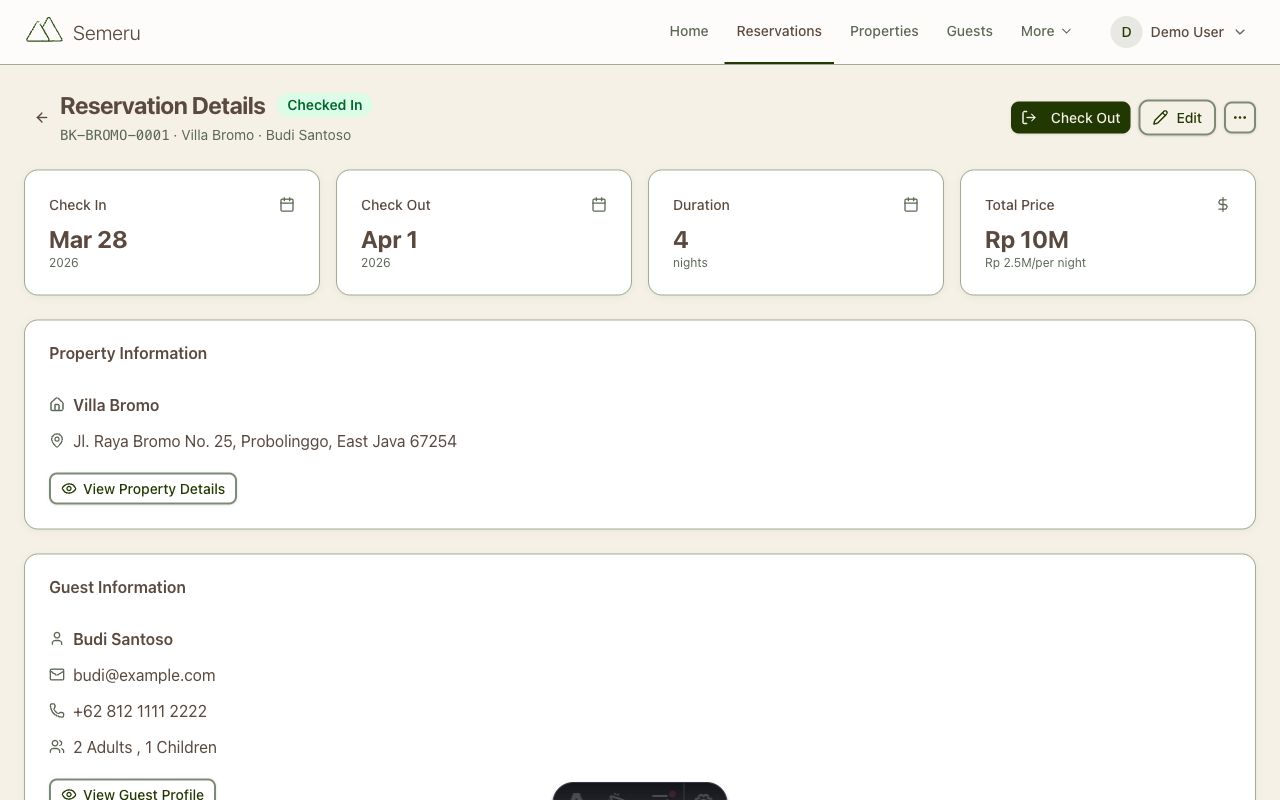
Save the reservation and it appears on your calendar view. You can track its status through the full lifecycle: Confirmed → Checked In → Checked Out.
5. Explore Your Dashboard
Your dashboard gives you a bird’s-eye view of your property:
- Today’s check-ins and check-outs: so you know what to prepare
- Occupancy rate: at a glance, see how full your property is
- Revenue summary: track earnings over time
- Recent reservations: quick access to the latest bookings
What’s Next?
Now that your property is set up and you’ve made your first reservation, here are some next steps:
- Managing Reservations: Learn advanced reservation management, calendar views, and status tracking
- Billing & Invoicing: Generate professional invoices and track payments
- Rate Plans: Set seasonal pricing, weekend rates, and promotional discounts
- Team Members: Invite your staff and assign roles (admin, manager, front desk)
Have questions? Reach out to us at info@semeru.online. We’re here to help you get started.